Removing a large tree from your property is a significant undertaking that requires careful planning and execution. Whether the tree poses a threat to your home, interferes with utility lines, or simply needs to be cleared for construction, the process must prioritize safety and environmental considerations. In this guide, we will explore the essential steps to safely remove a large tree.
Step 1: Assess the Situation
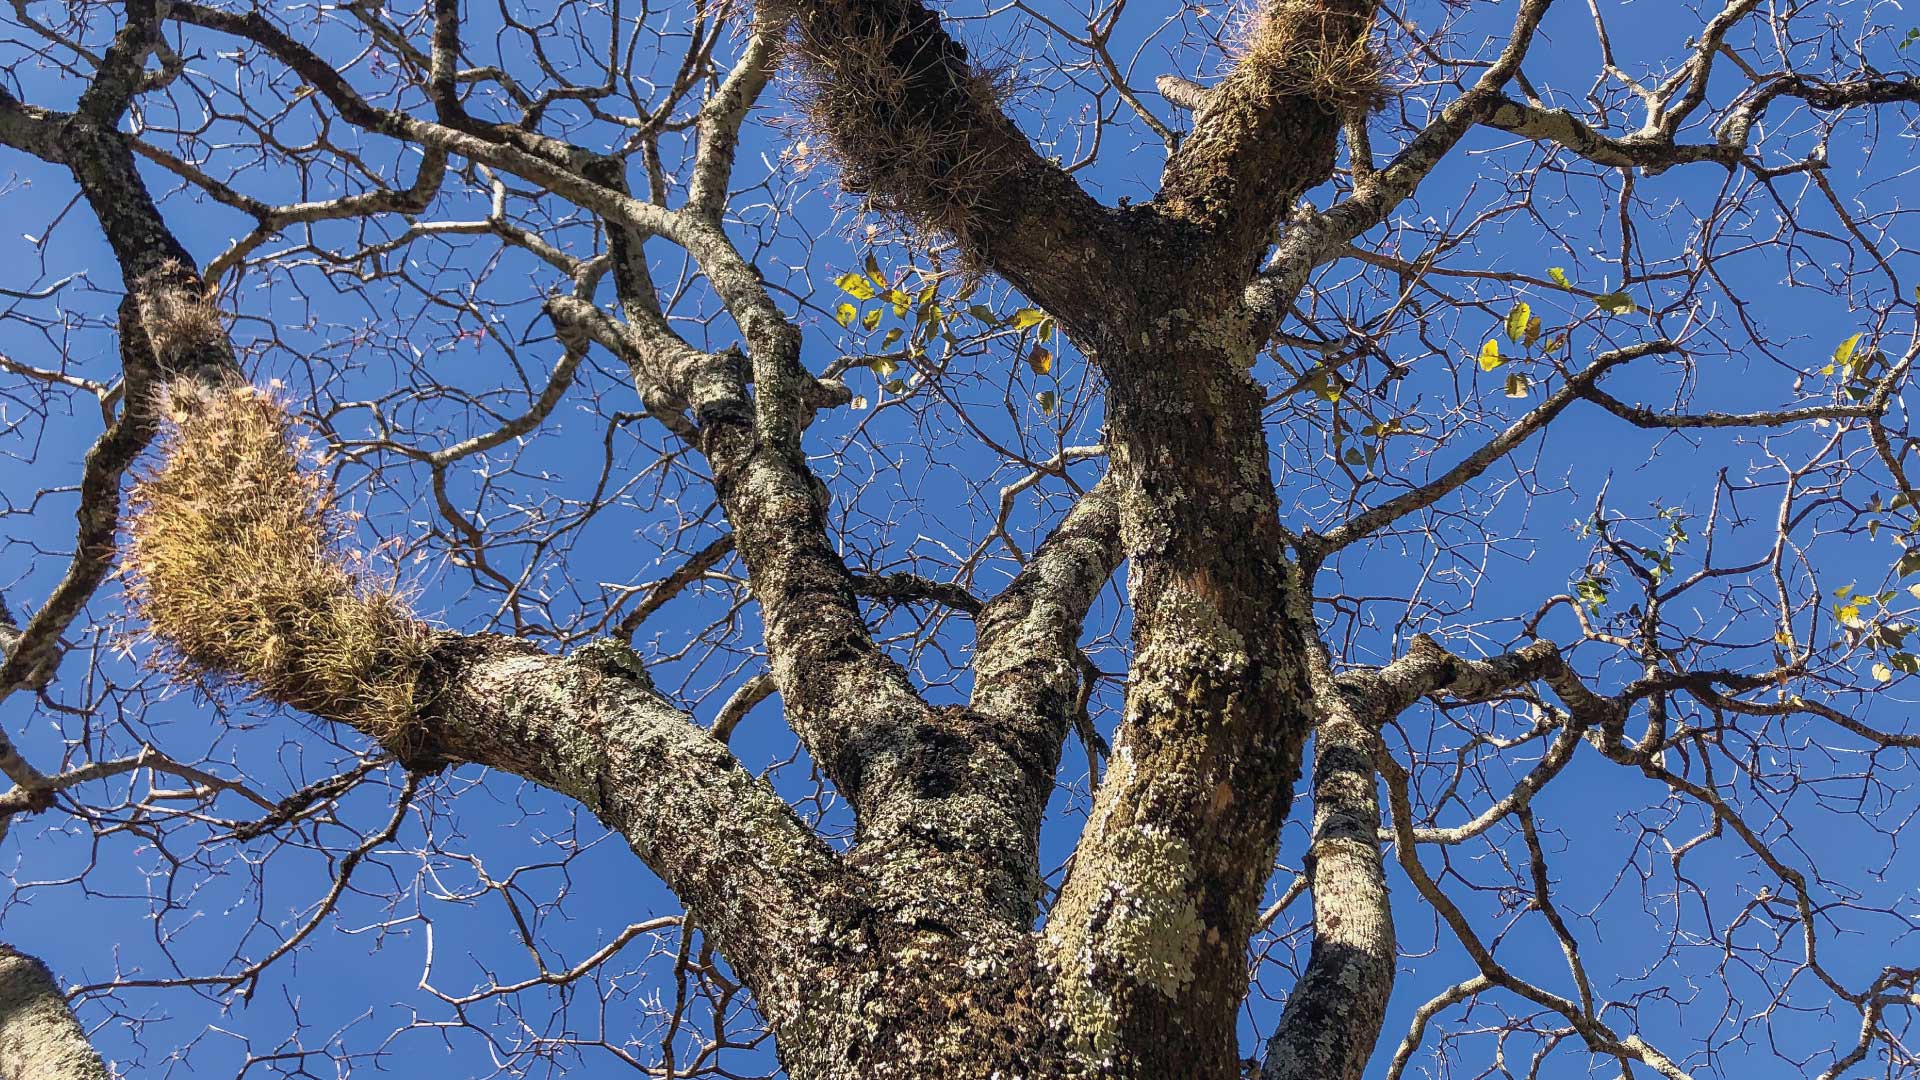
Before diving into the removal process, it’s crucial to assess the tree and its surroundings. Determine the tree’s size, species, and overall health. Evaluate the direction in which the tree leans, as this will influence the felling strategy. Identify nearby structures, power lines, and other obstacles that may complicate the removal process.
Step 2: Obtain Necessary Permits
Check with your local municipality to determine whether you need permits for tree removal. Some areas have regulations in place to protect certain tree species or require permits to ensure the safety of nearby structures and the environment. Failing to obtain the necessary permits could result in fines, so it’s essential to comply with local regulations.
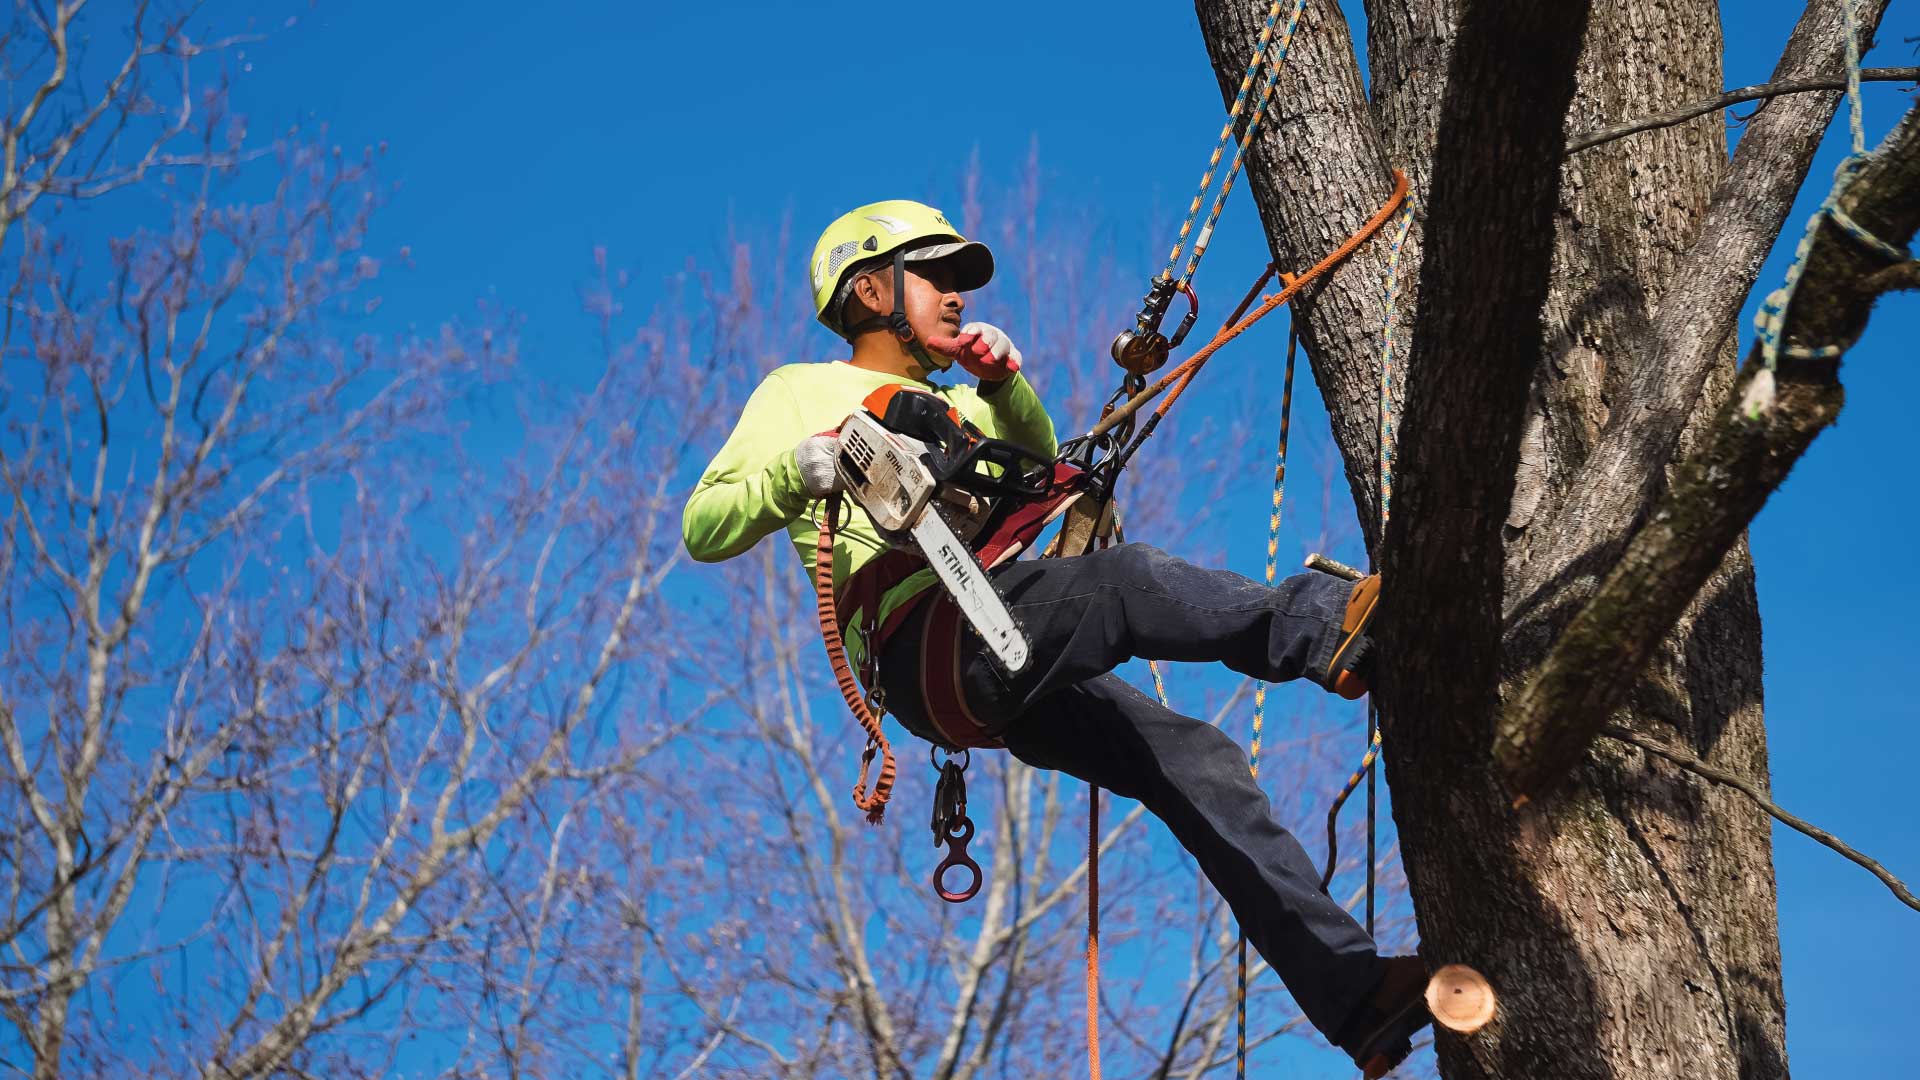
Step 3: Gather the Right Tools and Equipment
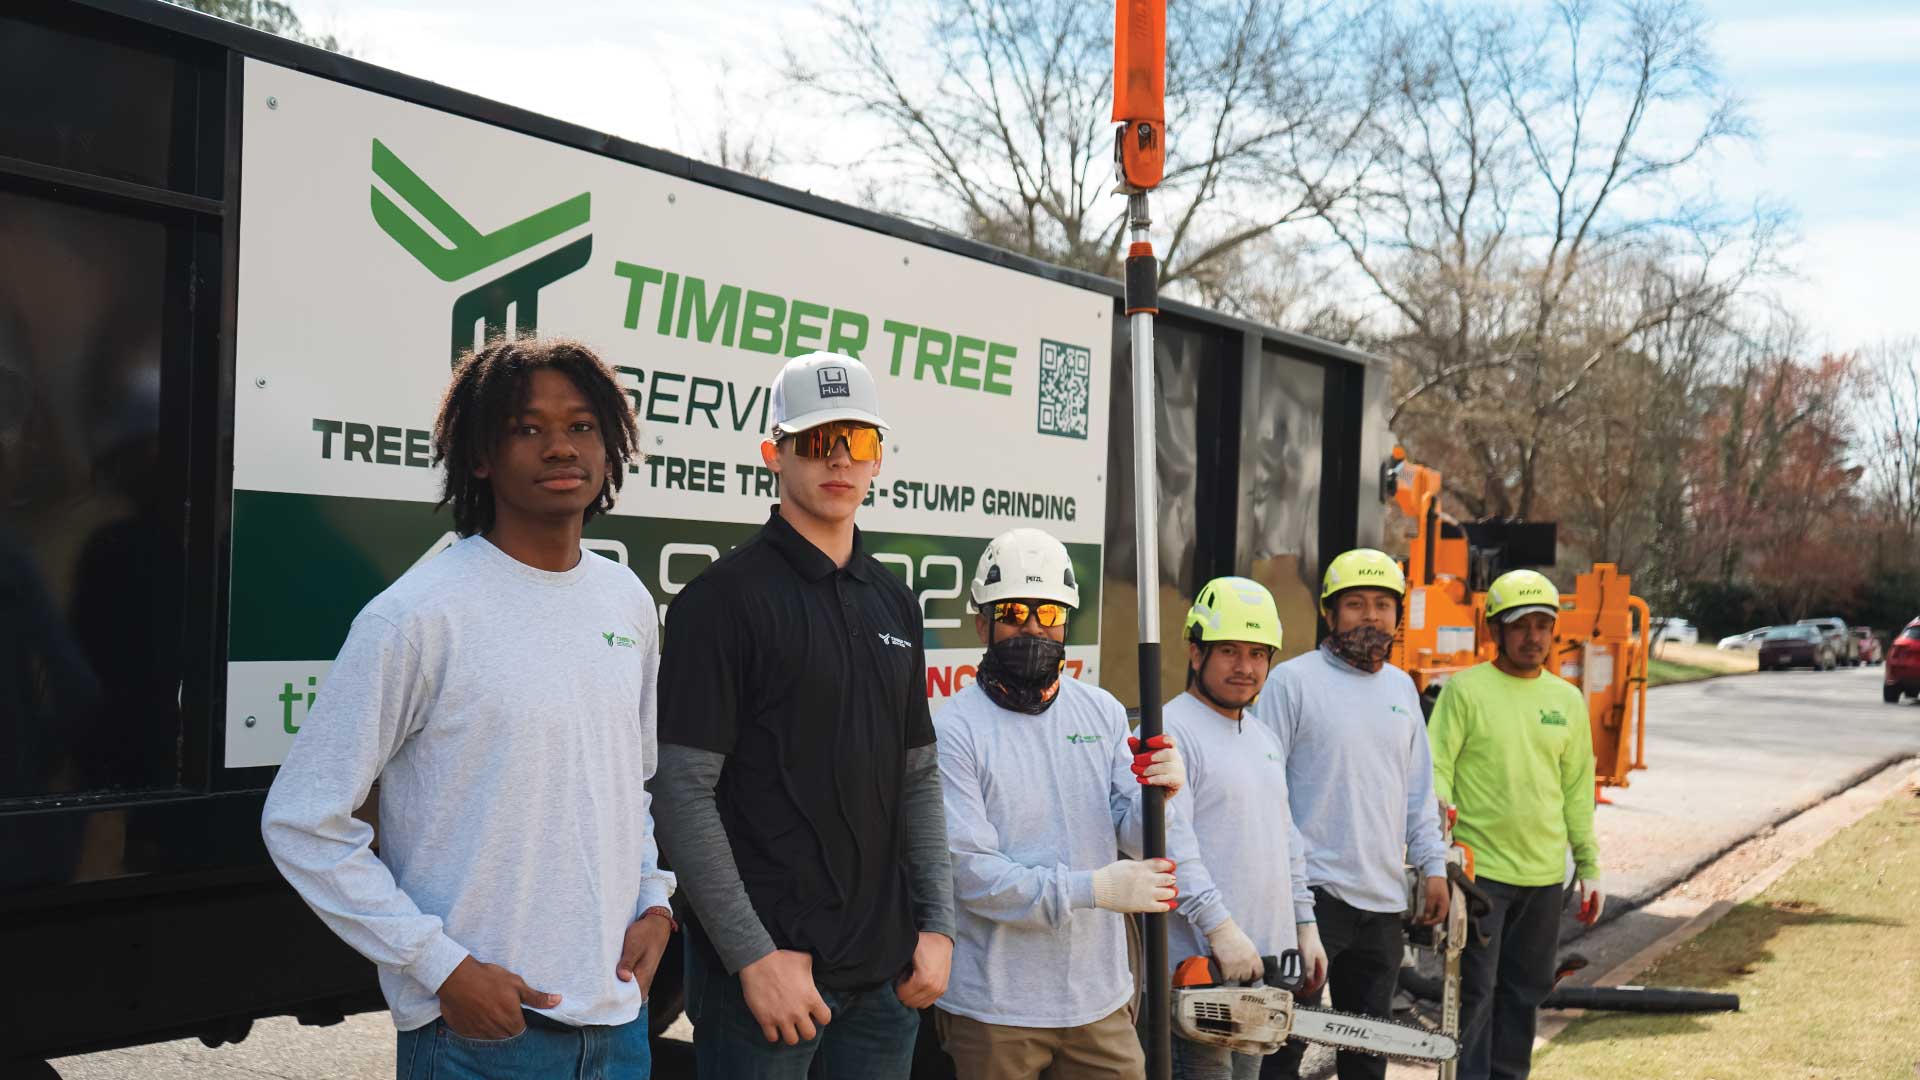
Tree removal requires specialized tools and equipment to ensure a safe and efficient process. Some essential tools include chainsaws, ropes, harnesses, wedges, and a stump grinder for later stages. If the tree is particularly large or poses a risk of falling in an undesired direction, consider consulting with a professional tree removal service.
Step 4: Plan the Felling Direction
Once you’ve assessed the tree and its surroundings, determine the safest direction for the tree to fall. Clear the area of any obstacles, and establish an escape route for yourself and others involved in the removal process. Plan for a felling angle that allows the tree to fall in the desired direction while minimizing the risk of damage to nearby structures.
Step 5: Make a Proper Cut
Begin the removal process by making a horizontal cut, known as the undercut, on the side of the tree facing the intended falling direction. The undercut should be about one-third of the tree’s diameter and should be made slightly above ground level. Following the undercut, make a second, angled cut, known as the back cut, slightly above and behind the undercut. This cut will guide the tree’s fall.
Step 6: Use Wedges for Control
To control the tree’s descent, insert wedges into the back cut as you progress. This helps prevent the tree from pinching the chainsaw and ensures a controlled fall. As the tree begins to lean, retreat along the predetermined escape route, maintaining a safe distance.
Step 7: Remove Remaining Stump
After the tree has fallen, the remaining stump will need to be removed. This can be done using a stump grinder, which grinds the stump into wood chips. Alternatively, you can hire a professional stump removal service to complete this task.
Removing a large tree is a complex task that demands careful planning, the right tools, and a commitment to safety. Following these steps will help you navigate the process successfully. However, if you feel uncertain or the tree poses a significant risk, it’s advisable to seek the assistance of a professional tree removal service to ensure a safe and efficient removal process. Always prioritize safety, adhere to local regulations, and consider the environmental impact of tree removal on your property.